Canadian Pacific Railway
St. Mary's Station
Monashee Laser Engineering
You can enlarge the images by clicking on them and return to the default look of the page by clicking outside them.

I've been asked to build the Canadian Pacific Railway's St. Mary's Station in both HO and N scale for a couple of gentlemen who live in southern Ontario.

I'll begin with the HO version first.

The laser cut kit is from Monashee Laser Engineering.

All good kit manufacturers include a packing list.
This one has been check-listed from the factory and no parts are missing.

As always I like to splay out the various components of the kit before beginning the build.

The laser art technology of today is exceptional.

All sheets are carefully labelled so there is no confusion as to which parts go where.

The drop siding which forms the bottom area of each wall section is made from styrene.
Note the long white styrene strip I have placed across the upper wall section.

Before cutting, I make a mark with my pencil.

Et voila! A perfect fit.

I always begin a new project with a fresh razor blade.

Some sanding is required to bring the siding to the desired length.

I have placed the drop siding where it belongs on a temporary basis for this image.

These wall sections I have been showing are the inner wall. They will eventually be adhered to outer wall sections making for a strong bond.

For fun I decide to place these unfinished inner walls up to see how things will appear.

Slots in the inner floor base accommodate these sections.
This image was taken under different lighting conditions.

Yes, this certainly will be a lovely station!

Again, under differing lighting.

I have painted the drop siding the brick-red colour that the main station walls will eventually wear.
I had to first prime these small styrene sections in black to ensure the red-brick colour will match the eventual colour of the shingled sides.
This was necessary as painting red over the white styrene would result in a more pinkish hue that would not match the rest of the painted wooden shingled walls.
Crazy Glue works well when adhering styrene to wood.

All drop siding sections are now in place.

Another look on my carpeted floor.

Time to begin shingling the outer wall.
Here I am placing the "First Shingle Started Strip".
My sharp razor will make the necessary cuts.
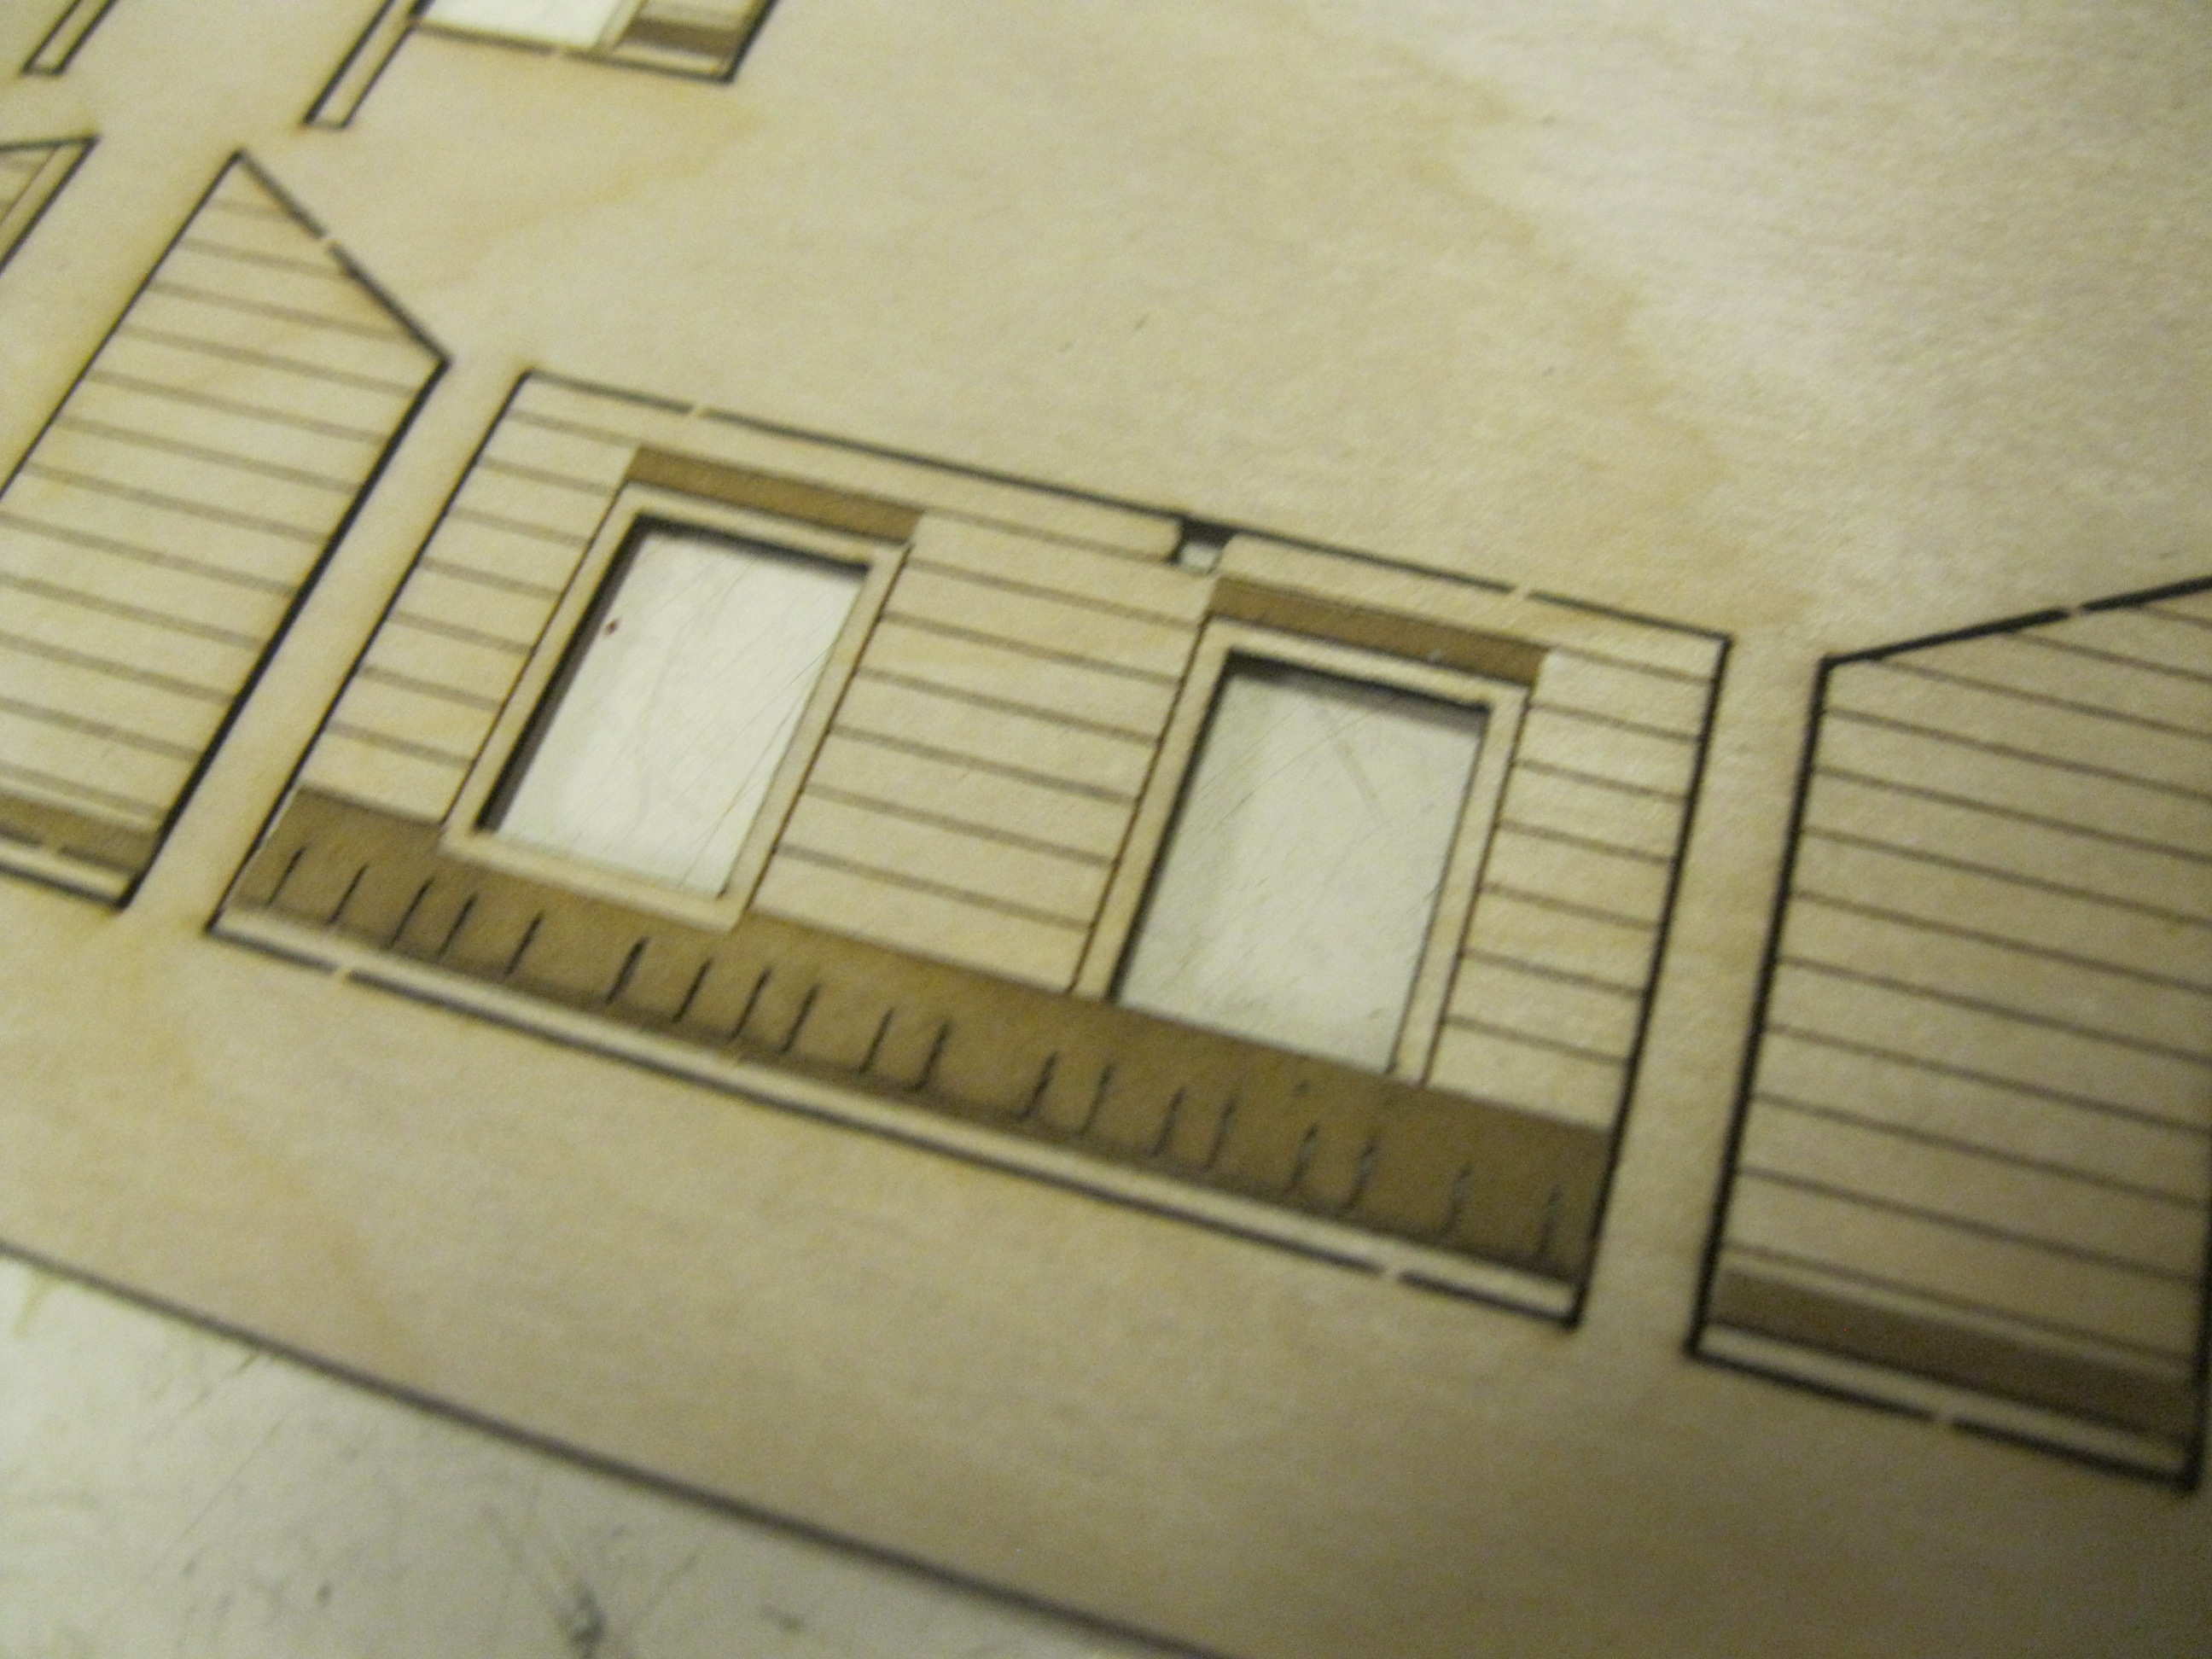
Here is where the time-consuming part comes in.
With the sharp blade I have to cut around the window frame area.
Notice how I have already done this to the left window but not the right one.

Similar treatments happen up top as well. This takes time and care to detail.

Some further trimming will take place when I go to test fit the window frames.

Note how a starter strip is necessary above the window and door openings.

Some of the narrower wall areas requiring shingling are tedious as well, but the sharp blade makes the cutting happen rather easily!

The instructions show where the starter strips and first shingle rows are placed. They also indicate the areas where trimming is needed.

All the shingles are in place and all that is left here is to finish trimming the upper left area.

Time to marry the two wall section parts together.
This image was shown previously.

These left and right wall segments will combine into one.

Let's perform another "test fit".
 \
\Looking good so far!
The upper shingles will eventually be painted the same red-brick colour as the lower drop siding.
Note where some shingled areas have slotted openings. These slots will accommodate the tabs on the brackets holding the roof.

To adhere the two parts of each wall section I will use carpenters glue.

With the glue applied I will carefully align the two pieces.

This image shows the test fit which I have not pressed in place as of yet.

Time to apply the glue.

The two sections are adhered to each other.

My trusty weights will ensure the walls remain in place as the glue sets.

The shingles have now been painted in the same brick-red colour of the lower trim.

I painted the rafter tails and window sill trim an off-white called Tapioca.

More of the trim appears on the bottom half of the sheet above painted in the tapioca colour. The window frames and muntin bars are painted in an antique white colour.

Close up view of the windows.

Close up view of the frames.

The above sections make up the exterior doors painted in the red tones.

I used a "Colonial" furniture stain to colour the interior doors.

Here's the look under differing lighting.

One wall section is nearing completion. The tabs are for the roof supports and some additional trim and window sills will have to be glued to the wall section.

Let's examine how the windows work within the context of the kit instructions. Each window uses "peel & stick" technology. Note the window atop the acetate glass on the upper left with the muntin bars. I have started to remove the covering to allow the frame to stick to the imitation glass surface.

All glass for the windows is labelled specifically for each window location.

In order to fit within the framework of the window opening, some sanding is required.

A few swipes across the Garnet sandpaper over all four sides will do the trick. I will be conducting this procedure with all window frames.

These are now adhered to the glass surface after I removed the backing to allow the sticky surface to attach to the clear acetate.

The upper windows are in.

The upper section of the right lower part is in.

The bottom window is now in.

The lower row shows the walls with their shingles in and painted. The middle row shows the frames in around the window openings. The upper row shows four walls with all windows in.

The frame is now adhered to the shorter walls that lead to the front bay window.

The trim strip separating the lower wall section known as the "drop siding" from the shingled area is glued in place on the left wall.

The trim strip finds itself on the right wall.

The doors are now made...again using the peel and stick methodology. They are in place along the front wall.

Interior walls are provided, although we are not decorating the interior for this build.

The supports for the rear extension now appear.

I've placed black construction paper so that you cannot see into an unfinished interior.

A look from above.

The walls all mate perfectly thanks to the "tab in slot" construction.

An aerial view with all four walls in place.

I have temporarily placed the roof support panel atop the station.

Under different lighting.

Let's check back in on that rear wall extension.

One wall is glued in place. Note the slots in the bare wall and on the floor to accommodate the tabs.

All three walls are now in but we have yet to add the trim in the corners.

I have added glue along the base which will allow me to adhere the "splash board skirting" to the lower area.

You can now see the skirting along the base of all walls.

A look with the platform support.

My next job will be tackling the roof and then I'll finish the project when I finally get to layering planks atop the platform.

A low angle view of the project thus far!
Feel free to check back in after a few days when I have more to share on this fun developing build!
A big "hello" to Mac out there!
All the best, Mike Hamer
Ottawa, Ontario, Canada